I thought I would share with you a big tip that I have developed over the past few years that helps me produce cards quicker & easier,
in the form of a series of simple template's, that you can adapt to any type of card making.
I have decided to challenge myself, to post one template every Tuesday along with a card I have made using it, (hence the title card template Tuesday)
I have also decided to make all the cards for each week out of the same basic ingredients & just change the template & the patterned papers, to show if you have limited resources you can produce many different cards using the same stuff, just by changing the template.
If you have limited time or lack of inspiration I find the templates help me over come these hurdles,(we all have lack of crafting mojo some times)
The whole template thing started because I would make a card I was really pleased with, give it to the recipient (all smiles and proud) LOL, then not remember how I made it. so I came up with keeping a card template folder, that I could turn to. I find that the designing of a card takes a lot longer than the making of it,not to mention the constant measuring.
Wow I have really waffled on haven't I (sorry about that)
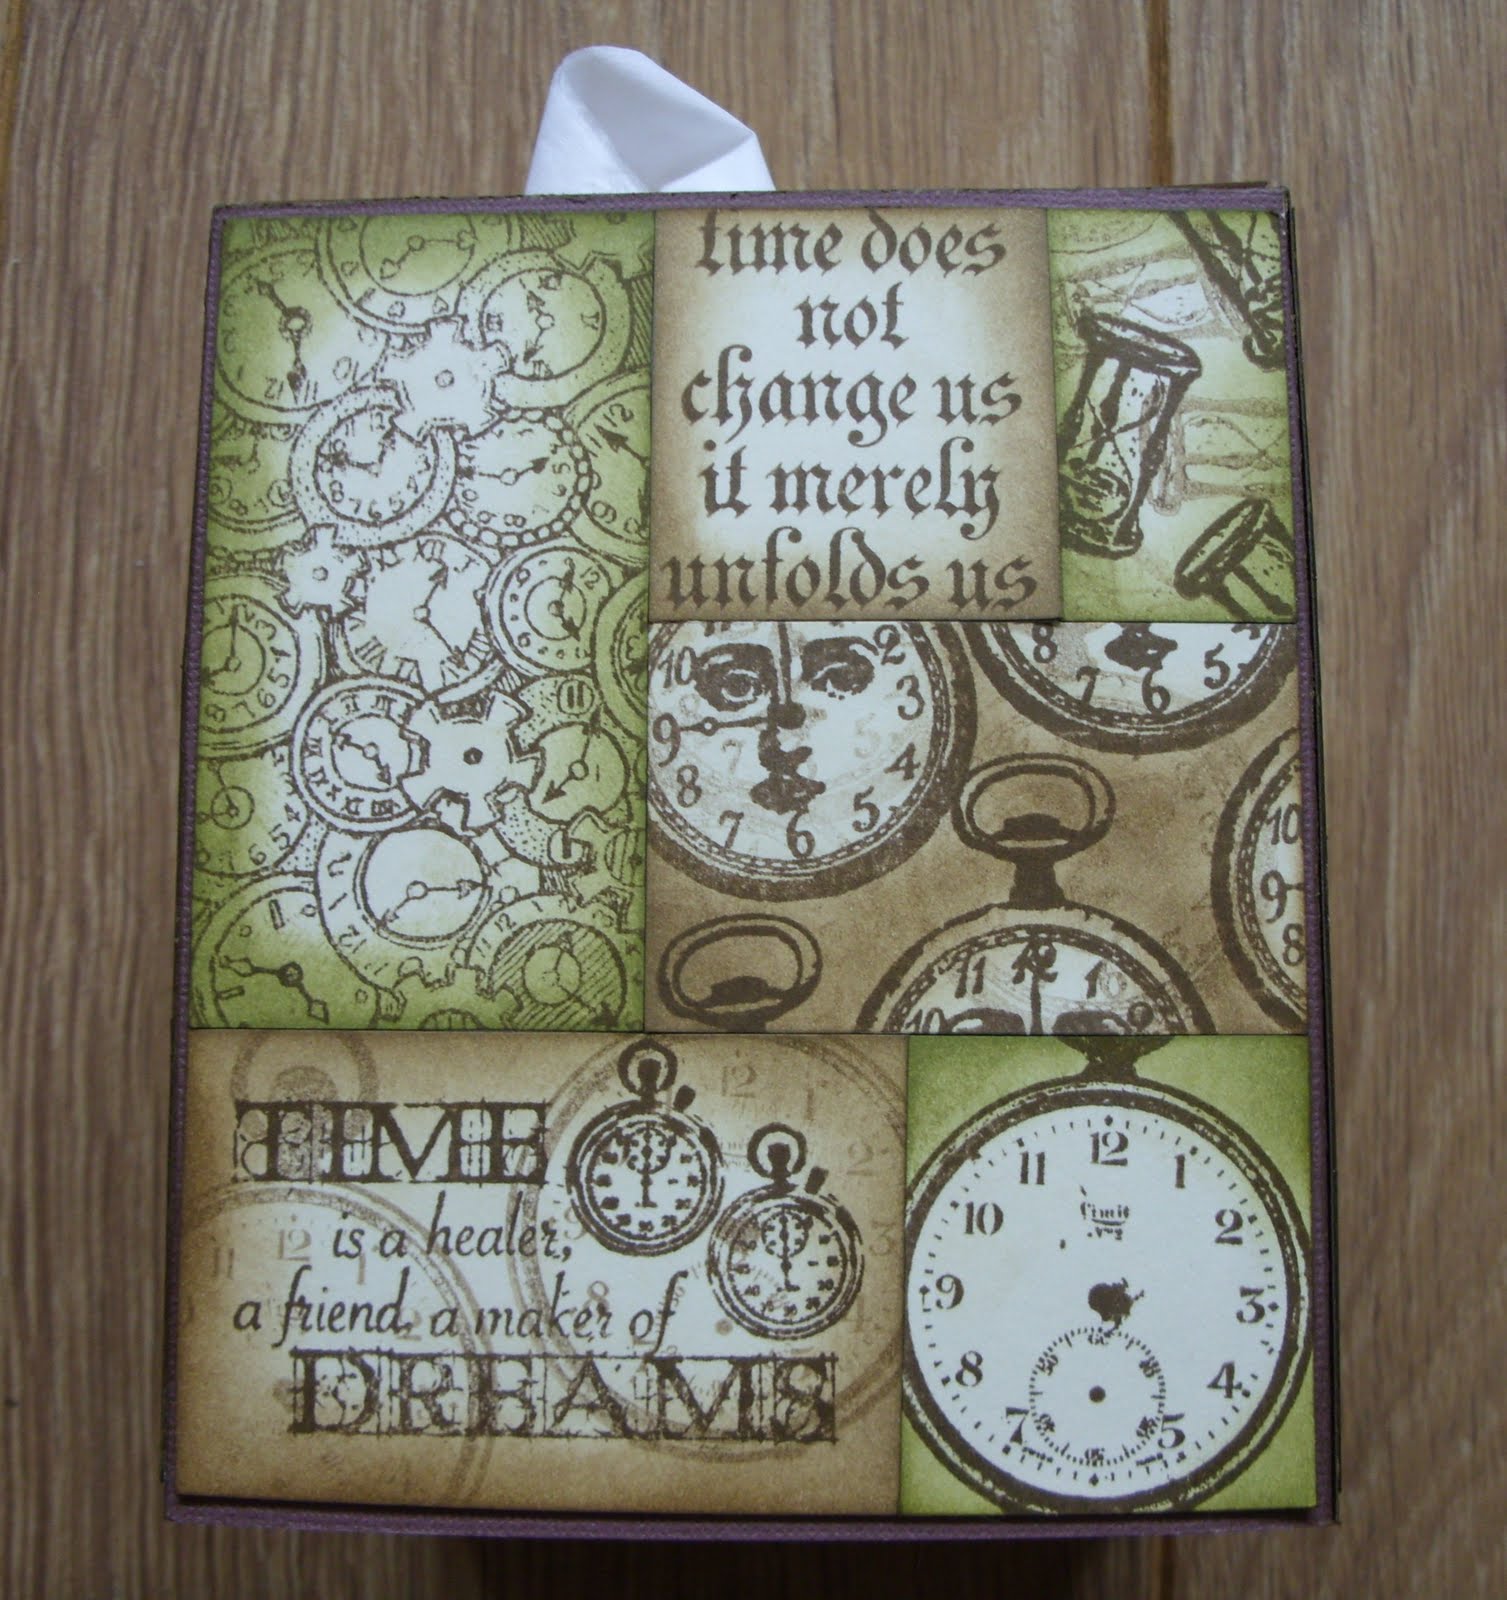
So here we go WEEK ONE, card, followed by the template.
Take a piece of paper the same size as your base card
(all the cards in the series with be A5)
Draw out a sketch with a ruler & pencil (I try to make all my measurements on the centimeter or on the half centimeter, this makes it easier for cutting).
Take scraps of card (a different colour for each layer)
& cut out the same as the sketch.
also write the measurements on each piece so you can either draw around each shape on your patterned papers & then cut it out,
or cut it on your paper trimmer using the measurements.
I then store the templates in a ring binder
so they are to hand when I need them.
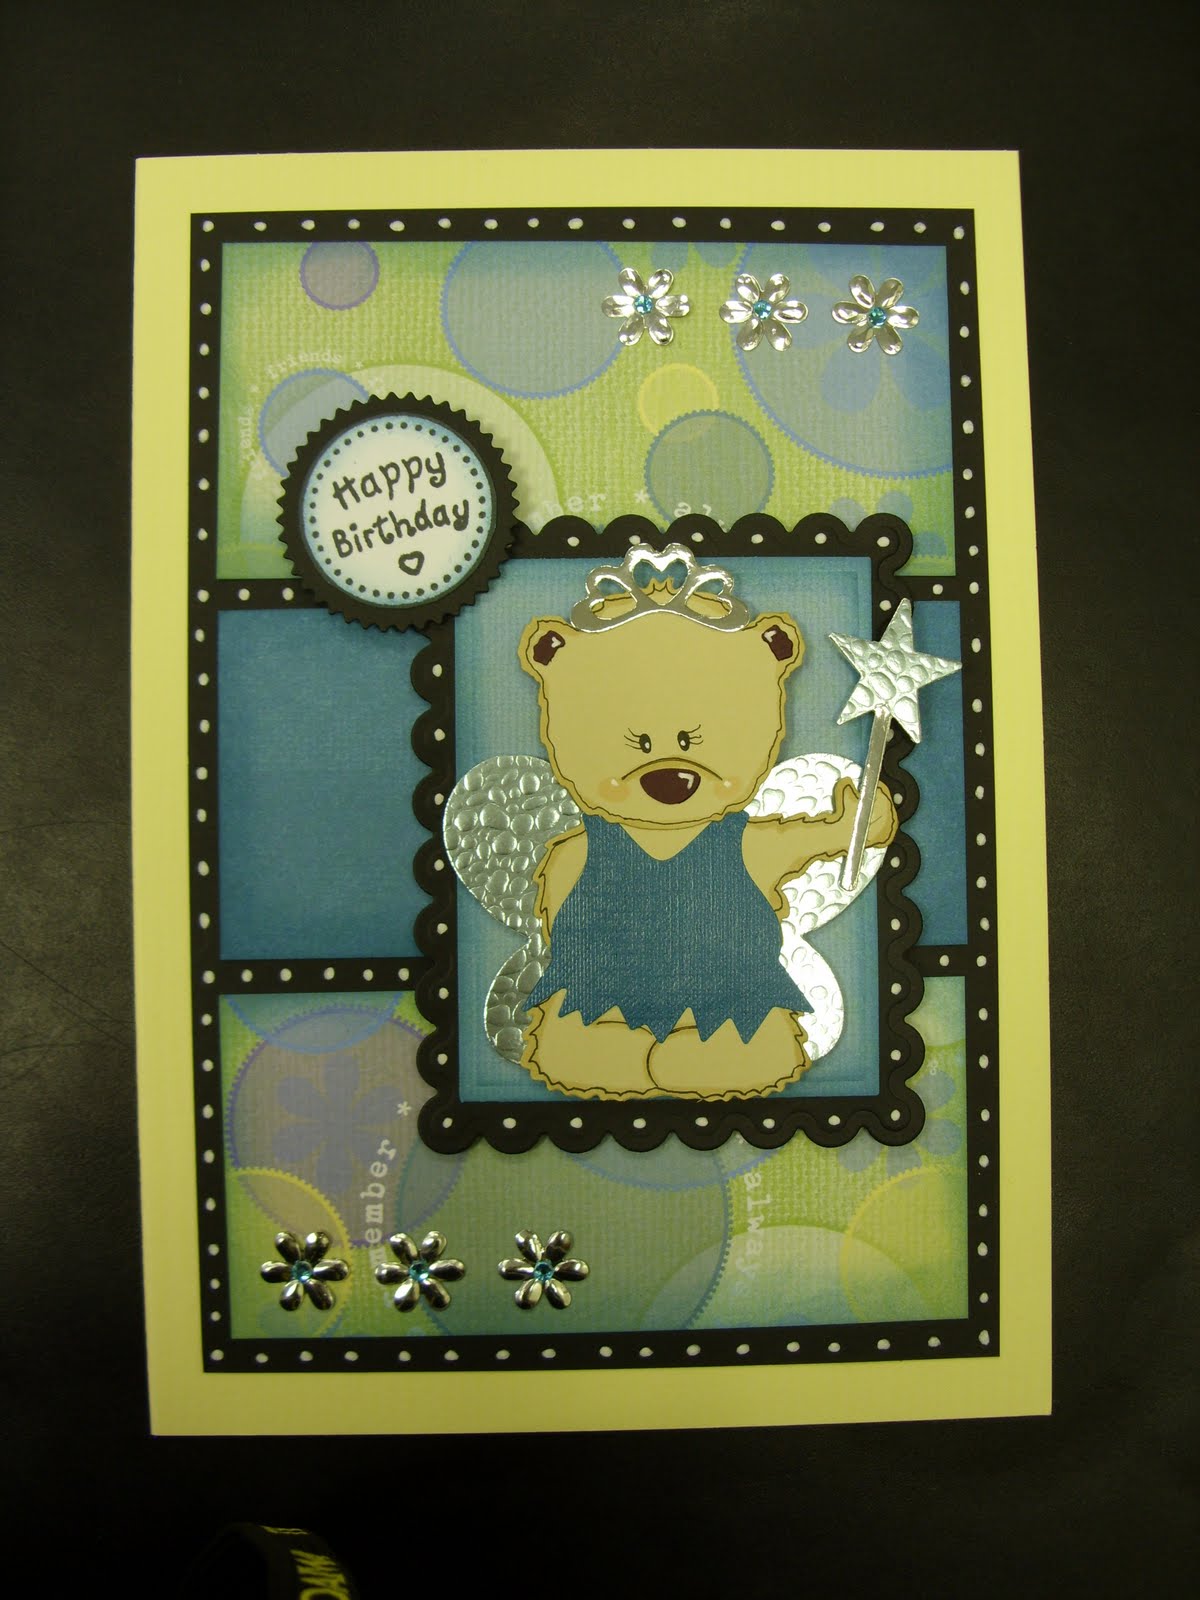
Here is another card I made with the same template, as you can see the template stayed the same, I just moved the image & the embellishments to make it slightly different.
You will be surprised how many variations you can make with the same template just by using different patterned papers & embellishments or different crafting techniques,
give it a go, I would love to see what you come up with, I hope you will find the series helpful, I would love to read your comments.
speaking of comments thank you so much for them on yesterday's post, I was chuffed to bits,
I also have one more follower how FAB is that.
well I'm tired out after all that writing
(It's not one of my strong points,
I spend more time in the dictionary than I do anything else) LOL
Back soon Kat x